
We were promised 40 acres and a mule, but history left that debt unpaid, forcing generations to slave away in Uncle Sam’s Amerikkka where only the business/land owners prevailed. Today, a new frontier of sovereignty has emerged where the gatekeepers hold no power: the digital landscape. Launching an independent website is the modern blueprint for self-determination, allowing us to claim absolute ownership over our words, our vision, and our future. By establishing your own corner of the internet, you transition from a tenant to a digital deed-holder with full autonomy.
Step 1: Secure Your Domain Name
theblackdeed.org
Securing a domain name, or web address, like theblackdeed.org, is the digital equivalent of owning your own plot of land. Costing around $15 per year, this digital real estate serves as the foundation for endless possibilities. It can be the the name of your thriving e-commerce store, a launchpad for a global movement, the digital archive of an untold family legacy, or even the permanent home for your own legal first and last name.
(Note: A domain is simply the address people type into their browser, like theblackdeed.org. To build a complete website on your new digital real estate, you will also need web hosting.)
Top Domain Registrars Compared
To secure your web address, you need to use a domain registrar. Prices fluctuate slightly, but here is what you can expect to pay for a standard .com domain at popular, reliable providers:
- Namecheap: Around $10.28 per year. Known for reliable, no-nonsense domain management and frequent discounts easily found with browser extensions like Honey. You’ll often need to ‘point’ this domain towards a hosting provider (meaning the domain name and hosting will live on two separate platforms, good for security, but will require simple customization to get it working)
- Hostinger: Around $9.99 for the first year. (Best choice if you plan to get website hosting too, as they often include the domain name for free with a hosting plan-all in one setup).
- GoDaddy: Often heavily discounted to $4.99 for the first year, but watch out for renewal rates which jump up to $21.99+ per year.(setup similar to namecheap)
💡 Pro-Tip: Always check the renewal price before you buy. Some companies lure you in with a cheap $2 entry price, only to multiply that charge the following year.
Once secured, no one can take it from you, provided you maintain the inexpensive annual payments. By staking your claim online, you are not just buying a URL; you are building an immovable monument to Black excellence, resilience, and creativity that future generations will look back on and inherit.
Step 2: Choose Your Hosting
While owning a domain name is like owning land. Web hosting is the actual building you construct on that property.
Hosting is the physical server space where people will see your beautiful ecommerce store, your blog, or your story. For around $5 to $15 per month, web hosting gives your ideas a voice and keeps your platform open to the world 24/7.
Top Web Hosting Providers Compared
To put your website online, you need a reliable hosting provider. Here is a breakdown of top-tier services, tailored for beginners and scaling creators alike:
- Price: Around $2.99 to $4.99 per month.
- Best For: All-in-one value.
- Perks: Includes a free domain name, free email, and automatic WordPress installation. It is highly beginner-friendly.
- Price: Around $4.99 per month introductory rate.
- Best For: Speed and top-tier customer service.
- Perks: Renowned for incredible security and fast loading times. Their support team helps fix issues in minutes via live chat.
- Price: Around $2.95 per month introductory rate.
- Best For: Seamless WordPress integration.
- Perks: Officially recommended by WordPress itself. It features an easy dashboard built specifically for launching blogs and business sites.
💡Much like domain registration, web hosting companies offer steep discounts for your first year and higher renewal rates the following years. To maximize your savings, lock in a 24-month or 36-month plan at checkout. This secures the lowest promotional rate for multiple years before the standard pricing kicks in.
Step 3: Design
Where The Magic Happens
Once your hosting is active, your platform belongs to you. You have complete control over the content—from photos and text to coloring, ideas, and mood. It is your dedicated digital home base.
Finding the Perfect Theme: Your Website’s Layout Framework
You don’t need to start with a blank website.
When you are learning how to build an online presence, you don’t have to code from scratch or stare at an empty canvas. Your layout template handles the heavy lifting for you.
Your website’s theme controls your entire visual structure, fonts, mobile responsiveness, and overall site speed. Here is the honest breakdown of how free options stack up against premium (paid) options, and exactly where you can find them.
Part 1: Free Themes vs. Paid Themes
🆓 Free Themes: The Budget-Friendly Starting Line
Free themes are available directly inside the official WordPress theme directory (Appearance > Themes > Add New).
- The Pros: Zero financial risk. You can test and discard them for free. They must pass strict security standards to get listed, and they are usually lightweight and fast.
- The Cons: Very limited customization features. Changing things like headers or footer layouts often requires manual coding. They offer zero tech support and tend to look generic because thousands of other sites use them.
💰 Paid Themes: The Professional Powerhouses
Premium themes are built for business growth, custom designs, and polished layouts.
- The Pros: Deep customization settings panels. They include one-click demo site imports, dedicated technical support to fix layout issues, and regular security updates.
- The Cons: Upfront costs usually range from $30 to $100+. Some can suffer from “theme bloat” if they pack in too many unnecessary features and extra plugins.
Part 2: Where to Find the Best Website Themes
Knowing where to source your theme safely keeps your site fast and protected from malicious software.
Where to Find Free Themes
Only download free themes from the Official WordPress.org Repository inside your WordPress dashboard. Never download “free” or “cracked” premium themes from random websites, as they frequently contain hidden malware.
Where to Buy Premium Themes & The Best Alternatives
- ThemeForest (Envato Market): The largest theme marketplace in the world. It is excellent for highly specialized, niche designs.
- TemplateMonster: One of the oldest competitors to ThemeForest, offering a massive selection of traditional corporate layouts and complex business themes.
- Creative Market: A community-driven design marketplace. It features beautifully curated, artistic, and highly unique templates built by independent creators.
- Elegant Themes (Divi): A standalone theme club that gives you access to their famous drag-and-drop visual page builder framework.
- GeneratePress / Astra: Independent developer shops focusing on ultra-lightweight, speed-optimized themes that work flawlessly with the native WordPress block editor.
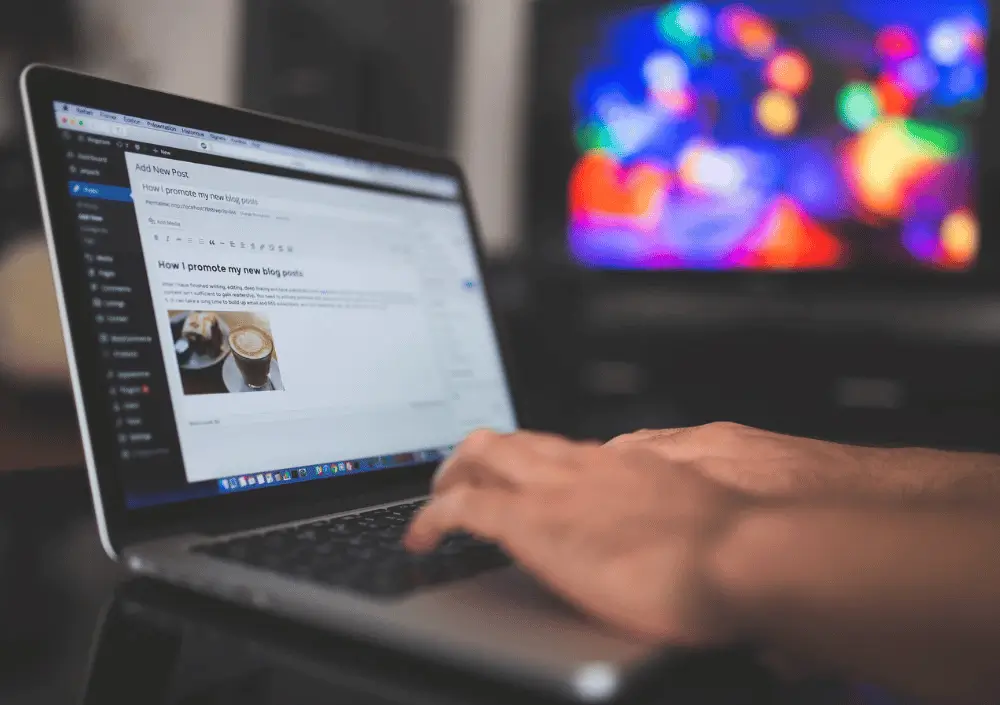
Step 4: Content
How to Find the Perfect (and Free) Photos for Your Website
Visuals can make or break your website. A great image grabs attention, tells your brand’s story, and keeps visitors scrolling. But if you are just starting out, you do not need a massive photography budget to look professional.
You just need to know where to look.
⚠️ The Golden Rule: Avoid Google Images
Before we dive into the best resources, let’s cover the most important rule of web design: never download random images from a Google search to use on your business website.
Most images on Google are protected by copyright laws. Using them without explicit permission can lead to expensive legal issues, copyright infringement fines, and a forced takedown of your site.
Instead, you should always look for images with a CC0 (Creative Commons Zero) license or custom free commercial use licenses. This means you can copy, modify, and distribute the photos for commercial business purposes without paying royalties or asking for permission.
📸 The Best Free Stock Photo Websites
Here are the absolute best, high-quality platforms where you can download free, commercial-ready photography for your site:
1. Pexels
- Best For: Trendy, modern lifestyle shots and seamless short background videos.
- Why Use It: Pexels curates beautifully styled images that do not look like traditional, cheesy stock photos. Its search feature is incredibly accurate, and you can filter results by color palette to match your website’s branding.
2. Pixabay
- Best For: Direct versatility (photos, vector graphics, and illustrations).
- Why Use It: Pixabay has one of the largest databases on the web. Beyond standard photography, it is an excellent resource if your website needs transparent PNG graphics, digital drawings, or custom UI icons.
3. Unsplash
- Best For: High-end, artistic, and cinematic photography.
- Why Use It: Unsplash feels like a premium digital art gallery. It is the go-to resource for web designers who need jaw-dropping, high-resolution hero headers, background layouts, and Editorial-style imagery.
- Best For: E-commerce stores, entrepreneurs, and business niches.
- Why Use It: Built specifically for online store owners, Burst categorizes images by specific business industries (e.g., retail, tech, fitness, beauty). It makes finding cohesive photos for an online shop incredibly efficient.
5. Magnific
- Best For: UI designs, mockups, and mixed graphic assets.
- Why Use It: Freepik offers an extensive selection of free templates, device mockups, and graphic compositions alongside its photo library. Note: The free tier on Magnific usually requires you to attribute the author.
💡 Quick Tips for Choosing Web Photos
- Keep It Consistent: Stick to a similar color scheme and visual mood across all pages so your brand feels cohesive.
- Optimize Before Uploading: Large image files slow your website down. Always convert your images using a free tool like Squoosh or CloudConvert before uploading them to WordPress.(Convert images to WebP)
- Avoid Clichés: Skip the overused, artificial photos of actors shaking hands in a boardroom. Authenticity builds trust with your visitors.